D-Link Router Setup for Smart DNS Proxy

Sep 13, 2024
 8697
8697
It’s only necessary to set up Smart DNS Proxy one time in order to use it. After you set up the Smart DNS proxy, you don’t have to follow these steps. Your connection will automatically use the correct DNS settings.
Modern firmware
1. Open a web browser and enter your router's IP Address into the address bar in order to access the network settings page.
2. Navigate to "Advanced" -> "DNS" tab.

2. Switch DNS IPv4 to "Manual" and add the following DNS servers clicking the "Add Server" button:
91.148.225.50
91.148.229.50

3. Click the "Apply" button and restart the router.

Old Firmware
1. Open a web browser and enter your router's IP Address into the address bar in order to access the network settings page.
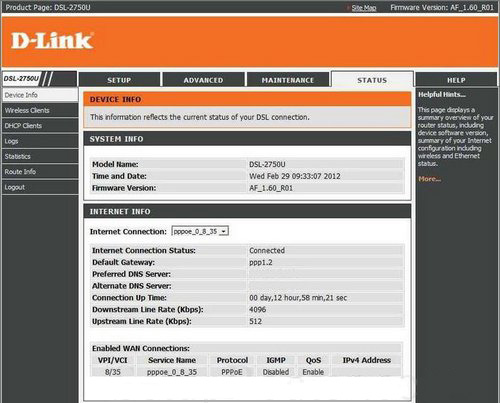
2. On the top navigation bar select the “Advanced” tab then navigate to the “DNS” section on the left of the page and enter the following DNS addresses:
Preferred DNS server: 91.148.225.50
Alternate DNS server: 91.148.229.50


